AspectLegacy Quick Start (Visual Basic 6)
Table of Contents
This section describes the steps to be done for installing the AspectLegacy tool. Note that the tool works under Linux as well as under Windows XP/Vista/7, but for compiling any (woven) Visual Basic 6 source code projects (.vbp), an installed version of the Visual Basic 6 integrated development environment (VB6 IDE) from Microsoft is required; since the IDE is only available for Windows machines, VB6 code cannot be compiled (but woven) under Linux.
Introduction to the “Bookstore” Example
The AspectLegacy distribution contains a simple “bookstore” example code, written in Visual Basic 6 and divided into a main- and an aspects-project. Depending on this example, the section below describes how VB6 source files can be woven using the AspectLegacy tool, and how the woven code can be compiled afterwards. The source code of the bookstore main project contains several annotations referring to the classes of the aspects projects. They will take effect after weaving, by showing up dialogue windows whenever any of the annotated code positions are being entered while runtime.
Installation
It is assumed that you have already installed a VB6 IDE under Windows.
At first, you have to download the AspectLegacy binary distribution archive (“dynamod.aspectlegacy-1.0_binaries”), which is available here as a .zip- as well as a .tar.gz-file.
Extract the downloaded archive to an arbitrary location; the content will be placed into a (sub-)directory “dynamod.aspectlegacy-1.0” containing the following elements:
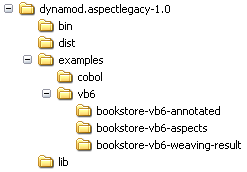
The content of the sub-folders is as follows:
Folder |
Content |
bin |
Binary files (script files) |
dist |
Distribution files, contains the installer for the weaver. |
examples |
Examples for Cobol (futural feature) and Visual Basic 6. |
lib |
Required libraries. |
Start the installer by double-clicking the “dynamod.aspectlegacy-1.0-installer-WIN32.jar” file, which is located in the “dist”-directory.
Select the language to be used for the installation process:
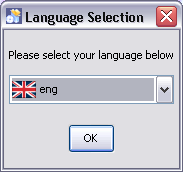
Note that the language only affects the installation process, not the aspect legacy application itself, which is always in english.
Afterwards, you will be asked for the target location of the application files:
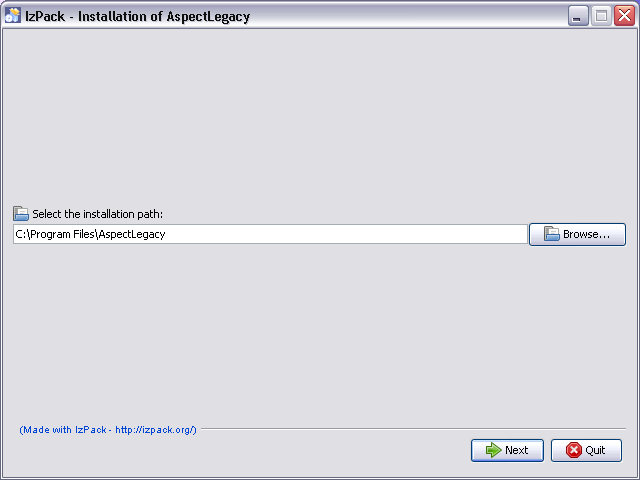
The default directory is “C:Program FilesAspectLegacy”, which should be preferably chosen. In case the target directory does not exist, its creation has to be confirmed:
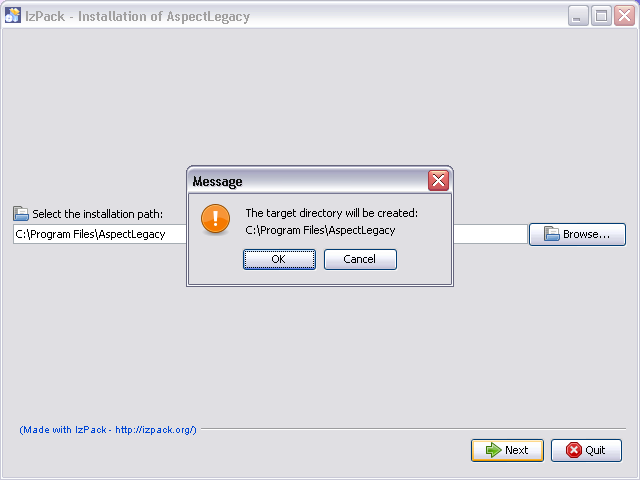
After the target directory has been confirmed, the installation process will start:
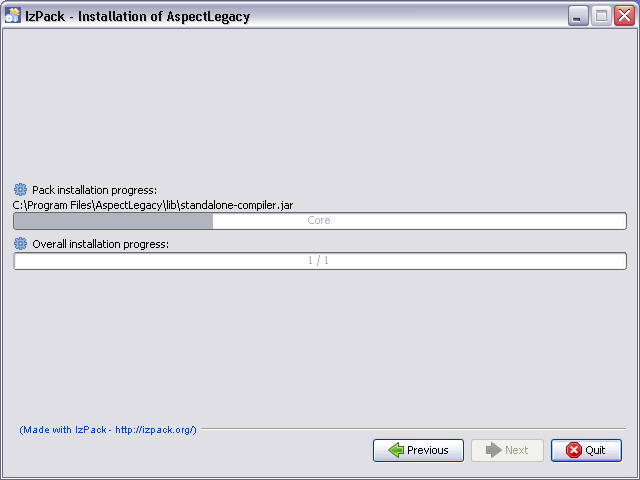
After the installation process finishes successfully, the “Next”-button will be enabled:
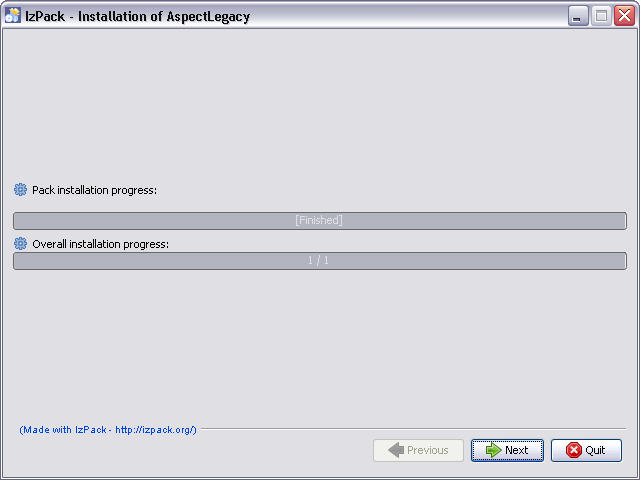
Click the “Next” button to start the registration process. In this step, a key will be added to the registry, hence you are asked to confirm the modification:
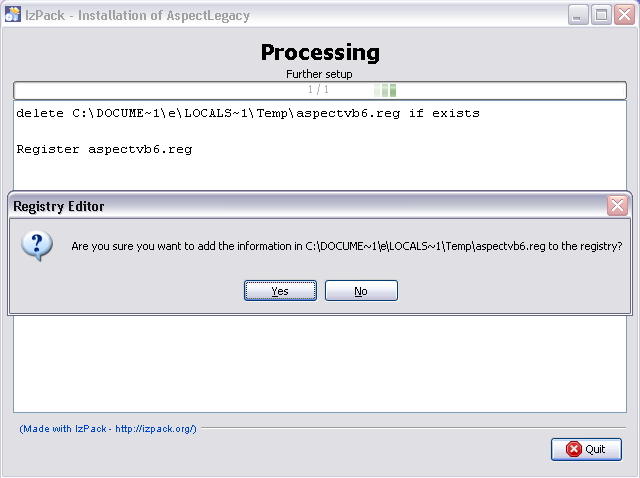
Click the “Yes”-button for allowing the installer to add the necessary key to the registry.
Finally, reboot your system to make the changes take effect (you might click the “Quit”-Button of the installer optionally before).
After your system has been rebooted, the “program files” folder contains a new sub-directory with the following structure, looking similar to the one of the distribution archive:
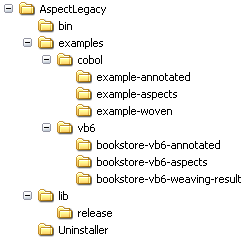
In the “bin” directory, you will find several batch-files, respectively the script files for starting the weaver application.
Weaving the “Bookstore” Example
It is assumed that you have already performed the steps described in the Installation section, so that an installed version of the AspectLegacy exists.
The following steps are required for starting the AspectLegacy application:
Go to the “bin” directory which contains several batch-files (.bat), respectively those for starting the application. You might go there by using a command-line shell or a file manager, for example “Windows Explorer”.
Do not execute the “avb6c.bat” file directly, since this is only the core file of all other batch-files contained in the “bin” directory; instead, you might execute one of the following batch-files:
The command
avb6c-cmdl.bat
simply starts the application in a command-line shell. It prints a usage-overview of the available parameters to standard output, if no additional parameters are being passed.
The command
avb6c-cmdl.bat -g
starts the application with its GUI. The GUI will be initialized with default properties. The input-projects and the output-directory have to be defined using the file dialogues of the GUI, and the weaving process can be started by clicking the “Start”-button of the GUI (note that the input projects and an output directory have to be defined therefore). The command
avb6c-gui.bat
has been added for convenience reasons and is equivalent to this.
Now, we are going to weave the Visual Basic 6 projects of the “Bookstore” example:
Go to the “examples” directory which contains the batch-files “avb6c-cmdl-example.bat” and “avb6c-gui-example”. Again, you might go there by using a command-line shell or a file manager. The sub-folders
examplesvb6bookstore-vb6-annotated\
and
examplesvb6bookstore-vb6-aspects\
contain the annotated and aspects-projects which we are going to weave by example. Furthermore, the sub-folder
examplesvb6bookstore-vb6-weaving-result\
contains the result project as it is expected to look like after weaving.
Execute one of the available “.bat”-files:
The command
avb6c-cmdl-example.bat
starts the weaving process immediately (without GUI) for the example projects and writes the weaving result to the “Temp” folder of the local user directory. Any log-messages will be displayed as command-line output. The output files will be located in the sub-folder
Tempbookstore-vb6-weaving-result\
of your user directory. Consequently, the full path of the result project will be (in Windows) similar to
C:UsersyournameAppDataLocalTempbookstore-vb6-weaving-resultBookstore.vbp
The command
avb6c-gui-example.bat
starts the GUI with the example projects as default input projects and a default output directory. The weaving process can be started immediately by clicking the “Start”-button of the GUI, and any log-messages will be displayed in the GUI-specific logging window.
Enhanced parameters
This section contains an overview of additional parameters to be optionally used.
The command
avb6c-cmdl.bat -g gui.properties
starts the GUI of the weaver with the (optionally) given configuration properties; this is for future purposes only.
The command
avb6c-cmdl.bat -g gui.properties -w weaver.properties -l logging.properties
starts the GUI of the weaver as well as the command above, with individual properties for weaving and logging; these properties might be even passed, if no GUI is used.