Downloading, Installing, Using Kieker4COM
Downloading Kieker4COM
The sources are available via the Git repository kieker4com.
Installing Kieker4COM
Note: If you have just uninstalled a Kieker4COM version, you should perform a restart before starting a new installation process!
1. Start installer
Double-click on the downloaded file to start the installer.
You may need to allow the execution of the Java Virtual Machine required for the installation program.
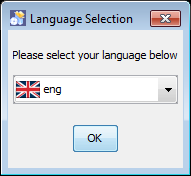
2. Language Selection
In the following dialog, you can select the language used in the installation wizard. Currently, German and English are supported.
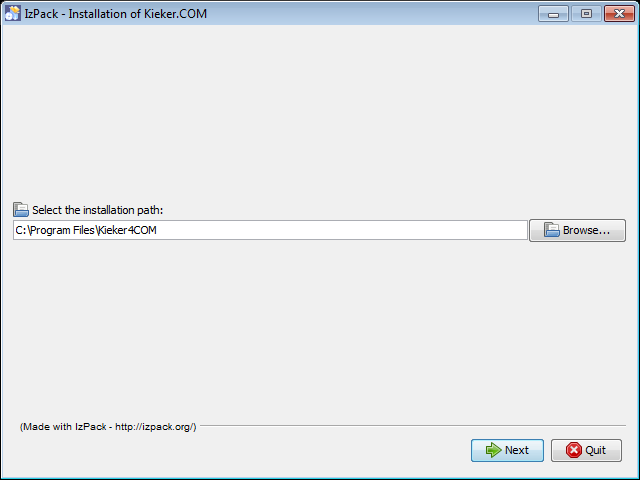
3. Installation Directory
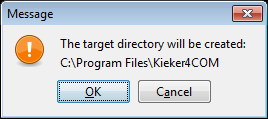
The next step of the installation wizard lets you select the Kieker4COM installation directory. Currently, our recommendation is to keep the default value. In the following step, this step of creating the installation directory requires an additional confirmation.
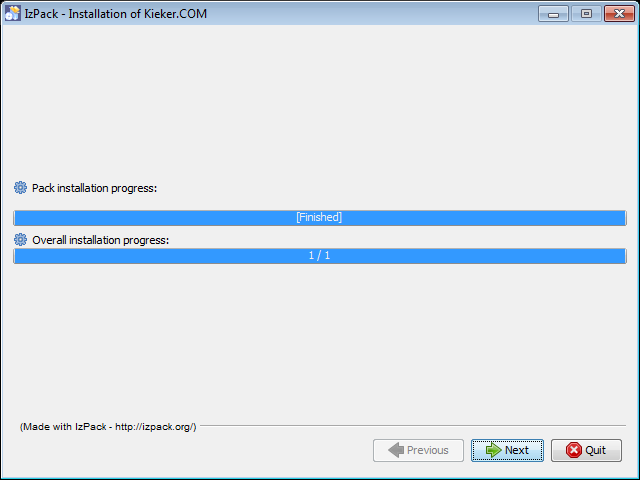
4. Installation of Kieker4COM Binaries
After having confirmed the installation in the previous step, the installer copies the Kieker4COM binaries to the selected directory.
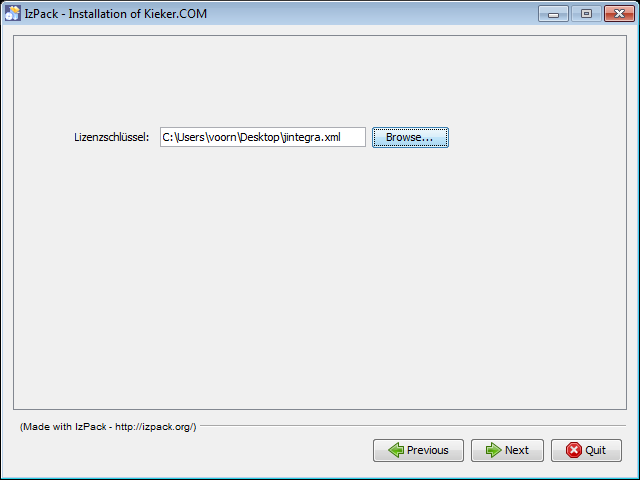
5. Selection of J-Integra COM License File
Kieker4COM employs the J-Integra COM bridge for accessing the Java-based Kieker monitoring component. The use of J-Integra COM requires the installation of a JI COM Client license.
Please select the file system location of the J-Integra COM license file and confirm your selection.
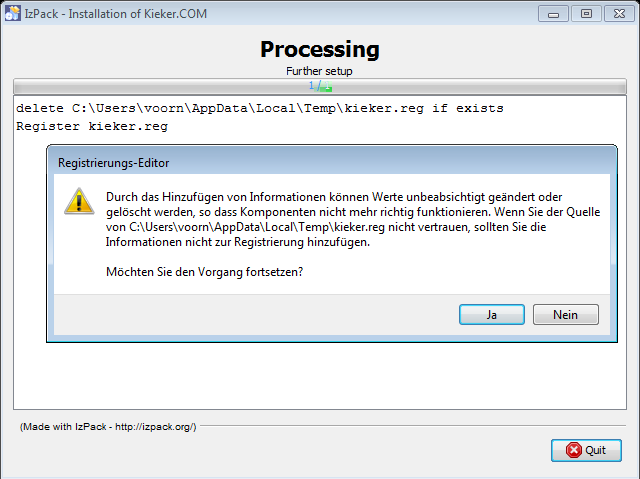
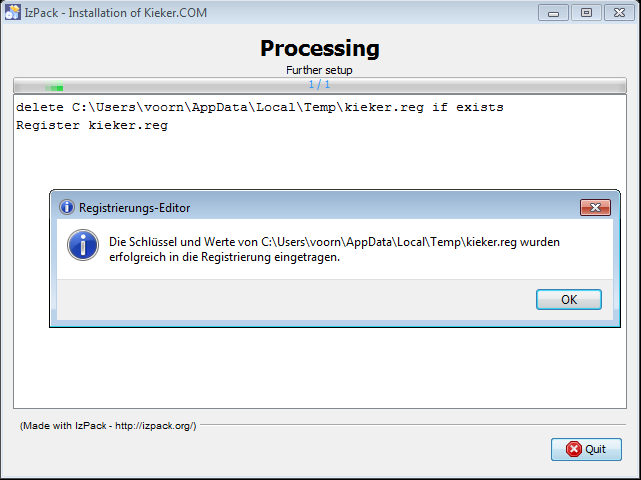
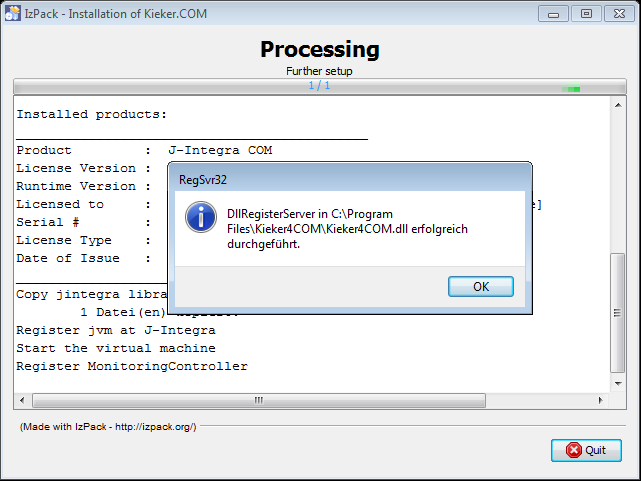
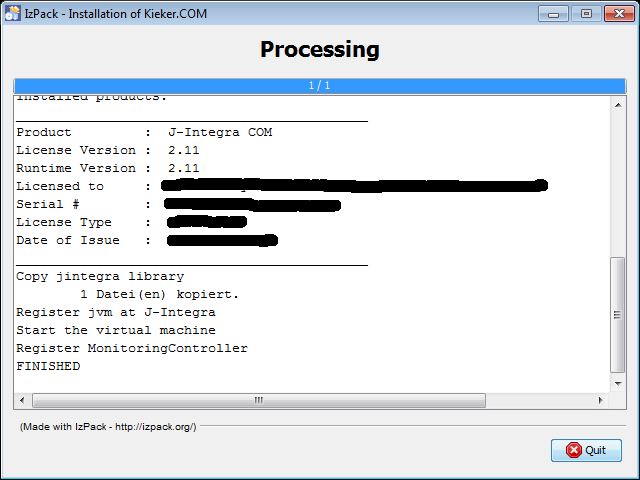
6. Registration of Kieker4COM and Completion of Installation
The next installation steps include the registration of the Kieker4COM service in the Windows registry, the activation of the J-Integra COM installation included with Kieker4COM, as well as an initial start of the Kieker4COM service.
Testing the Kieker4COM installation
The Kieker installation directory (%KIEKER_HOME%) contains a folder
called examples, which includes example projects instrumented in
different programming langugages. The directory examples\vb6 includes
examples for Visual Basic 6:
bookstore-annotated. A sample application which is enriched by AspectVB6 monitoring annotations which can be processed by the AspectLegacy tool in order to weave Kieker4COM monitoring aspects into the VB6 source code. See Kieker4COM Aspects for details.
bookstore-woven. This project is the result of the afore-mentioned process of weaving Kieker4COM monitoring aspects into the source code of the bookstore-annotated project. We will use this project to test the Kieker4COM installation.
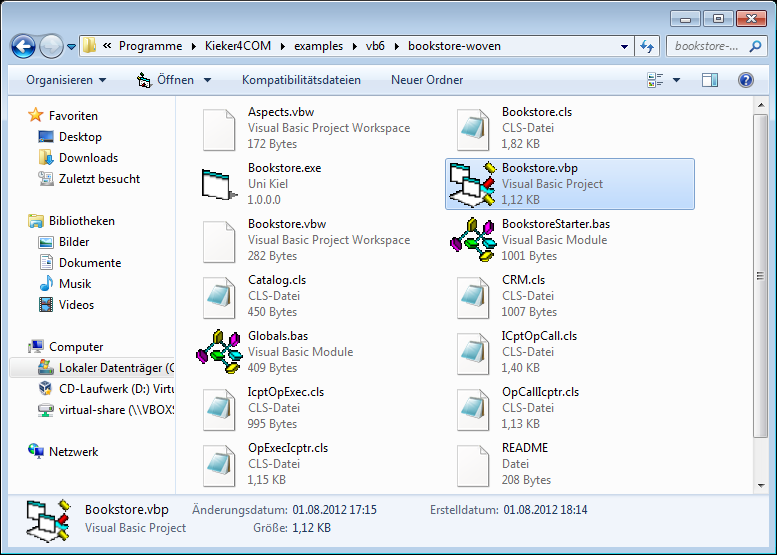
Generating Monitoring Data with the bookstore-woven example project
The following figure shows the directory contents:
UPDATE: In newer versions, the example directory includes a
pre-compiled Bookstore.exe which can be started directly without the
need to import the VB6 project.
Import the project into the Visual Basic 6 IDE by opening the project
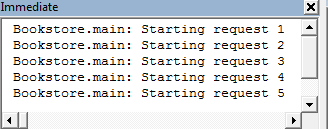
file Bookstore.vbp. Having started the example, the following debug
messages should appear in the Immediate Window (Ctrl+G):
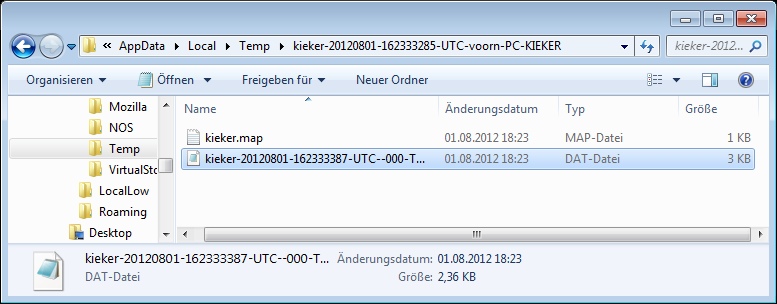
The Kieker monitoring log is written to a directory named like
kieker-<timestamp> located in the %TEMP% directory (e.g.,
C:\Users\voorn\AppData\Local\Temp).
This Kieker file system monitoring log can now be processed by the
Kieker.TraceAnalysis tool, just like monitoring logs from Java or .NET
systems. An example monitoring log is contained in the
examples\vb6\monitoring-logs\ directory.
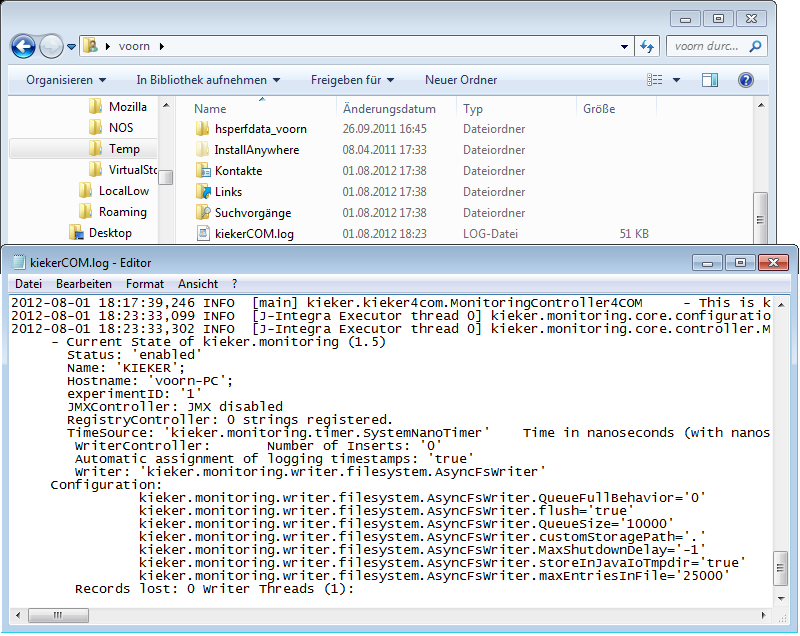
A KiekerCOM.log file with log messages is written to the %USERPROFILE%
directory.
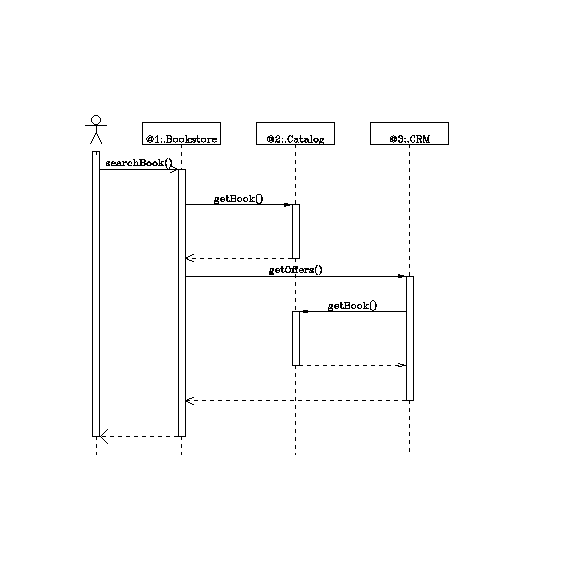
The following diagrams were created by the following calls to the Kieker.TraceAnalysis tool:
C:\Program Files\kieker4COM\bin>trace-analysis.bat -i
..\examples\vb6\monitoring-logs\kieker-20111017-152928614-UTC-voorn-PC-KIEKER
-o %TEMP% -p bla --plot-Assembly-Component-Dependency-Graph
--plot-Assembly-Sequence-Diagrams

Log messages are written to a kieker.log file in the %USERPROFILE%
directory.
Please refer to the Kieker Documentation to learn more about the usage of the Kieker.TraceAnalysis tool.
Uninstalling Kieker4COM
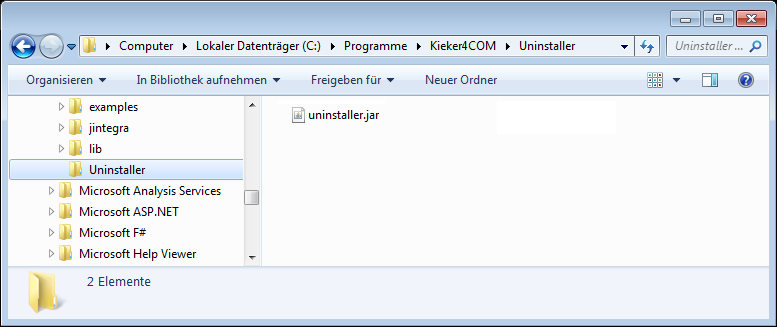
1. Start Uninstaller
Double-click on the uninstaller.jar file, to be found in the Uninstaller sub-directory.
You may need to allow the execution of the Java Virtual Machine required for the uninstaller.
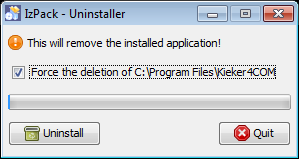
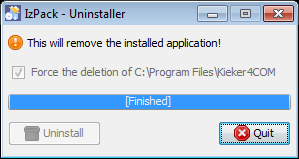
2. Confirm Uninstallation
In the upcoming wizard you should select the deletion of all files included in the Kieker4COM installation directory and start the uninstall process.
The uninstaller reports the successful deregistration of the Kieker4COM service and the successfull completion of the uninstallation process.
3. Manual Deletion of the Kieker4COM Installation Directory
The uninstaller already removed most of the sub-directories and files
included in the Kieker4COM installation directory. As a last step,
you’ll need to manually remove the kieker4COM directory from your
%ProgramFiles% (e.g., C:\Programme\kieker4COM) directory.
In some cases, the file Kieker4COM cannot be removed because it used. Please perform a restart an repeat this manual deletion step.
Important note for Subsequent Reinstallation
You should restart your system after an uninstallation before starting a subsequent installation.